CryoDynamics Hip Pad: Your Step-by-Step Guide to Effective Use
When it comes to recovery and pain management, the CryoDynamics Hip Pad stands out as a game-changer. Designed for the CryoDynamics Arc System, this innovative cold therapy pad offers a reversible design, making it versatile for use on either hip. In a recent video, Daniel from My Cold Therapy and Supply Cold Therapy walked through the process of applying the pad and maximizing its benefits. Here’s a breakdown of his tips to ensure you’re using the CryoDynamics Hip Pad safely and effectively.
1. Check Your Pad and Gather Materials
Before you begin, ensure you have the correct pad. The pad type is clearly labeled on the white tag in the corner of the packaging. Additionally, review the included skin safety flyer. It’s essential to avoid direct contact between the pad and your skin to prevent frostbite or irritation. Always use a barrier, such as clothing or a towel, as protection.
📝 Pro Tip: Consult your doctor before beginning cold therapy to ensure the system is suitable for your recovery plan.
2. Setting Up the Hip Pad
The CryoDynamics Hip Pad is reversible, which means it can accommodate either the left or right hip. Follow these steps for setup:
- Flip the Pad: Adjust the pad so the correct side is positioned for your hip.
- Attach the Pad Using Velcro: Secure the pad to itself using the integrated Velcro pieces for a snug fit.
3. Applying the Hip Pad
To properly secure the pad:
- Position it on the targeted hip, ensuring your protective barrier is in place.
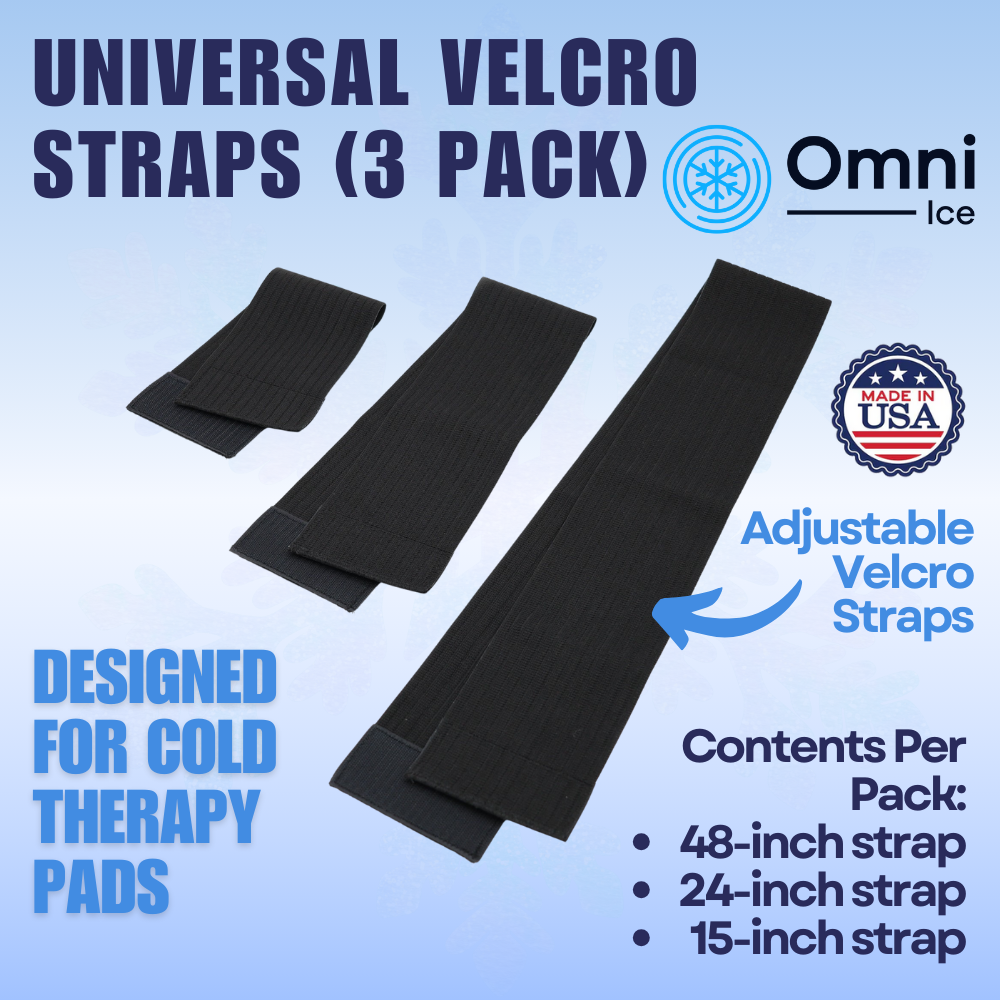
- Wrap the two adjustable straps around your abdomen, tightening or loosening as needed.
- Secure the thigh strap by bringing it from the back to the front and adjusting for comfort.
4. Connecting the Hoses
Once the pad is in place:
- Insert the hoses into the opening at the bottom of the pad.
- Before connecting, press down on the metal tabs on each hose. You’ll hear a click once they’re properly attached.
- Expect slight water leakage during this process. Keep a towel handy to manage spills and avoid messes.
5. Powering On
To begin therapy:
- Connect the power supply to the unit’s designated port (located next to the hose outlet).
- Ensure the light indicator is on, then press the button to start your session.
Cold therapy is most effective when used responsibly. The general guideline is 20 minutes on, followed by 20 minutes off, but always follow your physician’s recommendations. If you notice any yellow discoloration in the pad, don’t worry—this is normal, and the pad remains sterile.
The CryoDynamics Hip Pad is designed to make recovery smoother, but as with any medical device, your feedback is invaluable. If you’ve used the CryoDynamics Arc System or have questions, feel free to reach out or share your experience.
At this point, the pad should feel secure and conform to your body.


